Если у вас есть задвижка протекает в закрытом состоянии, вы не одиноки. Я сталкивался с этой досадной проблемой бесчисленное количество раз и знаю, как раздражает, когда вода капает из клапана, который должен быть плотно закрыт.
Дело вот в чем:
Задвижки могут давать течь даже в полностью закрытом состоянии из-за износа внутренних компонентов, скопления мусора или повреждения уплотнительных поверхностей. Хорошие новости? Большинство таких протечек можно устранить без вызова сантехника.
В этом руководстве я расскажу вам о том, что именно вызывает эти протечки, как определить, откуда они берутся, и дам пошаговые инструкции по их устранению.
Оглавление
Почему задвижки протекают в закрытом состоянии
Задвижки работают, опуская металлический затвор (или клин) вниз в корпус клапана, чтобы перекрыть поток воды. При правильной работе затвор создает герметичное прилегание к седлам клапана.
Но вот что происходит:
Изношенные седла клапанов и задвижки
Причина протечки задвижек #1 в закрытом состоянии - износ внутренних уплотнительных поверхностей.
Подумайте об этом:
Каждый раз, когда вы открываете и закрываете этот клапан, металл трется о металл. Со временем на нем появляются мелкие царапины и бороздки, которые препятствуют идеальному уплотнению.
Однажды я работал с задвижкой, установленной в 1985 году. Когда я наконец разобрал ее, седла клапанов выглядели так, будто кто-то прошелся по ним наждачной бумагой. Неудивительно, что она протекала как сумасшедшая.
Минеральные отложения и обломки
Большинство людей не понимают, о чем идет речь:
Со временем внутри клапана могут накапливаться отложения, частицы ржавчины и минеральные отложения. Эта грязь физически не позволяет затвору плотно прилегать к седлу клапана.
Это все равно что пытаться закрыть дверь с камнем, застрявшим в дверном проеме.
Коррозионное повреждение
Вода + металл + время = коррозия.
Особенно если у вас жесткая вода или вы живете в районе с агрессивным химическим составом воды, коррозия может разъесть внутренние компоненты вашего клапана.
Я видел клапаны, у которых затвор был настолько проржавлен, что напоминал швейцарский сыр. Очевидно, что это не поможет.
Температурные колебания
А вот это коварно:
Частые перепады температуры вызывают расширение и сжатие металлических деталей. Со временем это может привести к деформации седел клапанов или образованию зазоров в уплотнительных поверхностях.
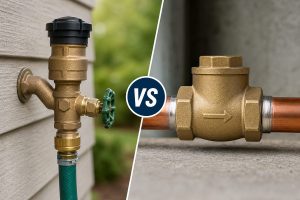
Виды протечек задвижек
Прежде чем чинить протекающую задвижку, необходимо выяснить, откуда она протекает.
Существует три основных типа:
Утечка через клапан
Это происходит, когда вода проходит через клапан, хотя он закрыт. Вы заметите, как вода вытекает из труб или светильников, расположенных ниже по течению от клапана.
Общие признаки:
- Туалеты, которые постоянно наполняются
- Капающие краны
- Счетчик воды, который продолжает крутиться
Утечка в штоке
Видите капающую воду вокруг ручки клапана? Это протечка штока.
Уплотнительный материал вокруг штока клапана износился, что позволяет воде выходить наружу.
Протечка тела
Это наихудший сценарий. Сам корпус клапана треснул или подвергся коррозии, что приводит к утечке воды из корпуса клапана.
Как починить протекающую задвижку
Теперь о главном - давайте устраним утечку.
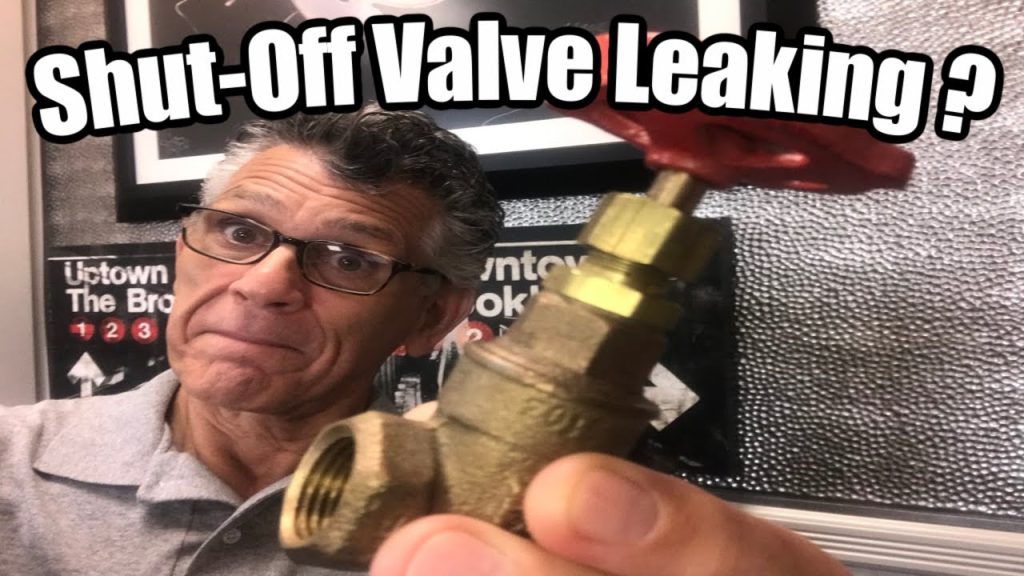
Быстрое исправление: подтяните гайку упаковки
Если у вас протекает стержень (вода капает из области ручки), попробуйте сначала сделать следующее:
- Найдите гайку сальника (это шестигранная гайка прямо под ручкой).
- С помощью разводного ключа затяните его на 1/4 оборота по часовой стрелке.
- Проверьте, прекратилась ли утечка
- Если нет, затяните еще на 1/8 оборота
Не затягивайте слишком сильно - это затруднит поворот ручки.
Метод промывки
Для устранения утечки через клапан, вызванной мусором:
- Откройте кран, расположенный ниже по течению
- Быстро откройте и закройте задвижку 5-10 раз
- Бурлящая вода может смести мусор.
- Закройте клапан и проверьте, прекратилась ли утечка.
Я бы сказал, что это срабатывает примерно в 40% случаев. Стоит попробовать, прежде чем переходить к более сложному ремонту.
Замените упаковку
Если затяжка не помогла, вам понадобится новый упаковочный материал:
- Перекройте подачу воды
- Снимите рукоятку (обычно она крепится винтом).
- Ослабьте и снимите гайку сальника
- Вытащите старую упаковку с помощью кирки или маленькой отвертки
- Обмотайте новую упаковочную веревку вокруг стебля (3-4 витка).
- Установите на место гайку сальника и рукоятку
Совет профессионала: используйте Тефлон набивочная веревка - она служит гораздо дольше, чем традиционная графитовая набивка.
Полная переделка клапанов
При серьезных внутренних утечках необходимо восстановить или заменить клапан.
Вот реальность:
Задвижки, как известно, трудно поддаются успешному восстановлению. Внутренние компоненты должны быть обработаны с точными допусками, и даже небольшие дефекты могут привести к утечкам.
Мой совет? Если клапану более 10 лет и он сильно протекает, просто замените его.
Когда заменять, а когда ремонтировать
Позвольте мне сэкономить ваше время и разочарование.
Замените клапан, если:
- Ему уже более 15 лет.
- Вы видите видимую коррозию на корпусе
- Многочисленные попытки ремонта не увенчались успехом
- Это критическое отключение (например, водопровода)
Ремонтируйте, если:
- Он относительно новый (менее 5 лет)
- Только незначительное протекание стебля
- Вы можете увидеть явные остатки мусора, вызывающие проблему
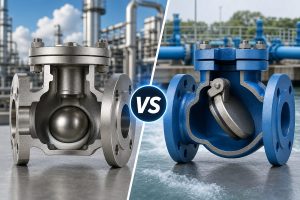
Переход на шаровой кран
Вот что я всем говорю:
Если вы собираетесь заменить задвижку, установите вместо нее шаровой кран.
Почему?
Шаровые краны просто более надежны. В них используется вращающийся шар с отверстием, а не скользящий затвор. Такая конструкция менее подвержена проблемам с мусором и обеспечивает лучшее уплотнение.
Пять лет назад я заменил все задвижки в своем доме на шаровые краны. С тех пор у меня не было ни одной протечки.
Советы по профилактике
Хотите избежать протечек задвижек в будущем?
Упражняйте клапаны
Это очень важно:
Открывайте и закрывайте задвижки не реже двух раз в год. Это предотвратит накопление отложений и убережет внутренние компоненты от заедания.
Я делаю это каждый раз, когда меняю фильтры системы отопления, вентиляции и кондиционирования воздуха - это легко запомнить.
Установите осадочные фильтры
Если у вас проблемы с жесткой водой или отложениями, подумайте об установке фильтра с отложениями для всего дома.
Меньше грязи в воде = меньше грязи в клапанах.
Правильно используйте клапаны
Задвижки рассчитаны на то, чтобы быть либо полностью открытыми, либо полностью закрытыми. Использование их в частично открытом состоянии приводит к чрезмерному износу седел.
Для дросселирования потока используйте шаровой кран или вентиль.
Общие ошибки, которых следует избегать
Я видел, как люди совершают эти ошибки снова и снова:
Чрезмерная затяжка
Нажатие на ручку не остановит утечку, вызванную повреждением седла. Вы только еще больше повредите клапан.
Использование неправильного ремонта
Однажды я видел, как кто-то пытался починить протекающую задвижку с помощью сантехнической шпаклевки. Спойлер: ничего не вышло.
Используйте правильные материалы для работы.
Игнорирование небольших утечек
Крошечная утечка сегодня превращается в потоп завтра. Решайте проблемы, пока они маленькие.
Соображения по поводу стоимости
Давайте поговорим о деньгах:
- Материал упаковки: $5-10
- Новая задвижка: $20-100 (в зависимости от размера)
- Модернизация шарового крана: $30-150
- Установка сантехники: $150-300
Ремонт "сделай сам" может сэкономить вам серьезные деньги, но знайте свои пределы. Неудачный ремонт главного запорного устройства может привести к многотысячному ущербу от воды.
Мой личный опыт
В прошлом году я помог своему соседу с задвижкой, которая протекала уже несколько месяцев.
Он ставил под него ведро и ежедневно опорожнял его. Когда мы наконец разобрали его, седла клапанов были полностью пробиты.
Мы заменили его на качественный шаровой кран, и на прошлой неделе он прислал мне сообщение - все еще работает отлично, никаких протечек.
Какой урок? Не живите с протекающими клапанами. Почините их правильно и один раз.
Итоги
A Задвижка протекает в закрытом состоянии обычно вызвано износом внутренних компонентов, скоплением мусора или разрушением сальника штока.
Если некоторые утечки можно устранить простым ремонтом, например, подтянуть гайку сальника или вымыть мусор, то старые клапаны часто требуют замены.
Моя рекомендация? Если ваша задвижка доставляет вам проблемы, подумайте о переходе на шаровой кран. Они более надежны, просты в эксплуатации и менее склонны к протечкам.
Помните: быстрое устранение протечек клапанов предотвращает повреждение воды и экономит деньги на счетах за воду. Не откладывайте - устраните утечку сегодня.