A instalação de uma válvula de retenção no seu sistema de bomba de drenagem não é apenas uma atualização "agradável de ter".
É absolutamente essencial.
Sem um? A sua bomba trabalhará horas extraordinárias, ligando e desligando constantemente. E isso significa contas de energia mais elevadas, avaria prematura da bomba e potenciais inundações na cave.
A boa notícia?
Instalando um válvula de retenção é um projeto simples de bricolage que a maioria dos proprietários pode realizar numa tarde.
Neste guia, vou explicar-lhe como como instalar uma válvula de retenção numa bomba de drenagem passo a passo. Aprenderá exatamente quais as ferramentas necessárias, onde posicionar a válvula e como evitar os erros de instalação mais comuns.
Vamos mergulhar de cabeça.
Índice
- Porque é que a sua bomba de depósito precisa desesperadamente de uma válvula de retenção
- O que é necessário: Ferramentas e materiais
- Escolher a válvula de retenção correta para o seu sistema
- Como instalar uma válvula de retenção numa bomba de depósito: Processo passo a passo
- Passo 1: Segurança em primeiro lugar - Cortar a corrente
- Passo 2: Drenar o sistema
- Passo 3: Localizar o local de instalação perfeito
- Passo 4: Marque os seus pontos de corte
- Passo 5: Fazer o corte
- Passo 6: Colocar tudo a seco
- Passo 7: Aplicar o primário e o cimento para PVC
- Passo 8: Instalar o orifício de drenagem crítico
- Passo 9: Permitir um tempo de cura adequado
- Passo 10: Teste do sistema
- Erros comuns de instalação (e como evitá-los)
- Quando chamar um profissional
- Manutenção e resolução de problemas
- A linha de fundo
Porque é que a sua bomba de depósito precisa desesperadamente de uma válvula de retenção
A questão é a seguinte:
Sem uma válvula de retenção, a gravidade funciona contra o seu sistema de bomba de drenagem.
Quando a sua bomba se desliga, toda a água no tubo de descarga flui de volta para o poço de drenagem. Isto obriga a sua bomba a bombear novamente a mesma água vezes sem conta.
E isso cria três grandes problemas:
Problema #1: Curto-circuito
A sua bomba liga-se e desliga-se constantemente. Isto coloca uma enorme pressão sobre o motor e os componentes eléctricos, levando a uma falha prematura.
Problema #2: Desperdício de energia
Está literalmente a pagar para bombear a mesma água várias vezes. Isto representa centenas de dólares em custos de eletricidade desperdiçados todos os anos.
Problema #3: Danos na bomba
O ciclo constante pode causar bloqueios de ar no seu sistema, forçando a bomba a funcionar a seco e potencialmente queimando o motor.
Conclusão? Uma válvula de retenção elimina o refluxo da água e protege o seu investimento.
O que é necessário: Ferramentas e materiais
Antes de começarmos, vamos reunir tudo o que é necessário para este projeto.
Ferramentas essenciais:
- Cortador de tubos de PVC ou serra
- Berbequim com broca de 3/16
- Alicate ajustável
- Chave de tubos
- Fita métrica
- Marcador ou lápis
- Lixa
- Luvas e óculos de proteção
Materiais necessários:
- Válvula de retenção (dimensionada para corresponder ao diâmetro do tubo de descarga)
- Primário e cimento para PVC
- Botas de acoplamento de borracha ou acoplamentos de PVC
- Braçadeiras para mangueiras
- Tubo PVC Schedule 40 (se necessário)
- Fita de teflon
- Balde para ensaios
Dica profissional: A maioria das bombas de drenagem residenciais utiliza tubos de descarga de 1,25″ ou 1,5″. Meça o diâmetro do seu tubo antes de ir à loja de ferragens.
Escolher a válvula de retenção correta para o seu sistema
Nem todas as válvulas de retenção são criadas da mesma forma.
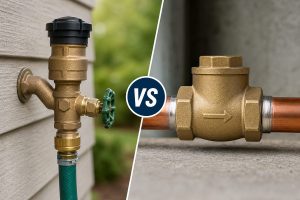
Encontrará três tipos principais na sua loja de ferragens local:
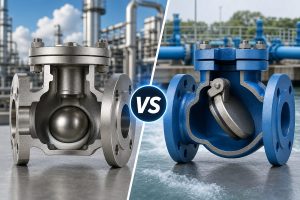
Válvulas de retenção oscilantes: Básicos e económicos, mas podem ser ruidosos quando fecham.
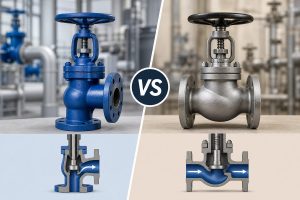
Válvulas com mola: Fecho mais fiável, mas ligeiramente mais caro.
Válvulas de retenção silenciosas: Concebida para reduzir o ruído do golpe de aríete. Perfeito se a sua bomba de drenagem estiver perto de espaços habitacionais.
Para a maioria dos proprietários de casas, recomendo uma válvula de retenção silenciosa. Sim, custam um pouco mais no início. Mas a redução do ruído vale cada cêntimo.
Como instalar uma válvula de retenção numa bomba de depósito: Processo passo a passo
Agora o evento principal. Eis exatamente como instalar uma válvula de retenção num sistema de bomba de drenagem:
Passo 1: Segurança em primeiro lugar - Cortar a corrente
Antes de tocar em qualquer coisa, desligue a bomba de drenagem da sua fonte de alimentação.
Desligue-o da tomada ou desligue o disjuntor. A água e a eletricidade não se misturam, e não vamos correr riscos aqui.
Passo 2: Drenar o sistema
Se possível, drenar o máximo de água possível da fossa. Isto torna a instalação mais limpa e mais fácil.
Utilize um balde ou um aspirador de pó para remover a água parada. Não é necessário retirar todas as gotas, mas menos água significa menos sujidade.
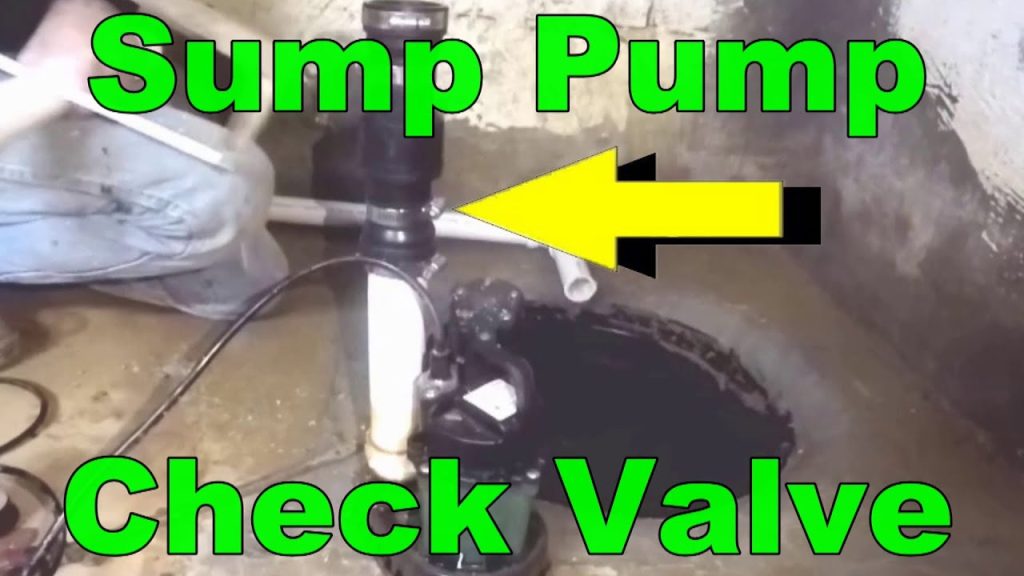
Passo 3: Localizar o local de instalação perfeito
É aqui que a maioria dos amantes da bricolage se engana:
Instalam a válvula de retenção demasiado alta ou demasiado baixa.
O ponto ideal? Entre 8-18 polegadas acima da saída de descarga da bomba.
Este posicionamento proporciona várias vantagens importantes:
- Fácil acesso para manutenção futura
- Minimiza o volume de refluxo
- Evita problemas de bloqueio de ar
- Reduz o ruído do sistema
Importante: Certifique-se de que ainda consegue aceder à válvula para inspeção e limpeza. Não a enterre onde nunca mais a verá.
Passo 4: Marque os seus pontos de corte
Utilizando a sua fita métrica, marque exatamente onde vai cortar o tubo de descarga.
Não esquecer: A válvula de retenção tem de encaixar entre estes cortes com ligações corretas em ambos os lados.
Marcar claramente com um marcador permanente. Medir duas vezes, cortar uma vez.
Passo 5: Fazer o corte
Utilizando o cortador de tubos de PVC (ou a serra), faça cortes limpos e rectos nos locais marcados.
Se estiver a utilizar uma serra de arco, lixe as extremidades cortadas para remover quaisquer rebarbas. As arestas ásperas podem impedir a vedação correta e causar fugas mais tarde.
Passo 6: Colocar tudo a seco
Antes de aplicar qualquer adesivo, efetuar um ajuste a seco completo.
Colocar a válvula de retenção entre as extremidades do tubo cortado e assegurar:
- A seta de fluxo aponta para longe da bomba
- Todas as ligações encaixam perfeitamente
- Tem espaço suficiente para a operação
- A válvula está corretamente orientada (normalmente na vertical)
Controlo crítico: Essa seta de fluxo é tudo. Se a instalar ao contrário, a sua bomba não descarregará qualquer água.
Passo 7: Aplicar o primário e o cimento para PVC
Trabalhando rapidamente (o cimento de PVC endurece rapidamente), aplique o primário no exterior do tubo e no interior do acessório.
Aplicar imediatamente o cimento PVC, revestindo uniformemente ambas as superfícies.
Introduzir a válvula de retenção e rodar ligeiramente para assegurar uma distribuição uniforme. Segurar firmemente durante 30 segundos enquanto o cimento começa a endurecer.
Dica profissional: Trabalhe em secções se estiver a ligar várias peças. Não tente cimentar tudo de uma vez.
Passo 8: Instalar o orifício de drenagem crítico
Este passo evita danos catastróficos na bomba.
Faça um furo de 3/16″ aproximadamente 2-3 polegadas acima da válvula de retenção, inclinado para baixo a 45 graus.
Este orifício de drenagem evita condições de bloqueio de ar que podem fazer com que a bomba funcione a seco e se queime.
Nota: Algumas válvulas de retenção mais recentes vêm com orifícios de drenagem pré-perfurados. Verifique as instruções do fabricante antes de efetuar furos adicionais.
Passo 9: Permitir um tempo de cura adequado
Deixar o cimento PVC curar durante o tempo recomendado pelo fabricante (normalmente 15-30 minutos no mínimo).
Não apresse este passo. Uma cura adequada garante vedações estanques que durarão anos.
Passo 10: Teste do sistema
Está na altura do momento da verdade.
Volte a ligar a alimentação da bomba de drenagem e deite lentamente 3-5 galões de água no poço.
Atenção:
- Ativação correta da bomba
- Água a passar pela válvula de retenção
- Sem refluxo quando a bomba pára
- Sem fugas em quaisquer ligações
- Desligamento correto da bomba
Erros comuns de instalação (e como evitá-los)
Depois de ajudar centenas de proprietários de casas com sistemas de bombas de drenagem, tenho visto estes erros vezes sem conta:
Erro #1: Instalar a válvula demasiado alto
Alguns amantes da bricolage pensam que "mais alto é melhor" e instalam a válvula de retenção a mais de 3 pés acima da bomba.
Má ideia.
Isto permite que grandes volumes de água se escoem para trás, anulando totalmente o objetivo da válvula.
Erro #2: Direção de fluxo errada
A instalação da válvula ao contrário é surpreendentemente comum. Verifique sempre duas vezes a seta de fluxo antes de aplicar o cimento.
Erro #3: Saltar o orifício de drenagem
Sem um orifício de drenagem, o ar pode ficar preso no sistema. Isto obriga a bomba a trabalhar contra a pressão do ar e pode causar sobreaquecimento.
Erro #4: Suporte deficiente da tubagem
Se a tubagem de descarga não for corretamente suportada, todas as ligações ficam sob tensão. Utilize cintas de tubagem e ganchos para fixar corretamente os percursos verticais e horizontais.
Erro #5: Utilizar uma válvula de tamanho incorreto
Uma válvula demasiado pequena restringe o fluxo e reduz a eficiência da bomba. Se for demasiado grande, pode não vedar corretamente.
Quando chamar um profissional
Embora a instalação da válvula de retenção seja definitivamente um projeto de bricolage, algumas situações requerem ajuda profissional:
- Sistemas complexos com várias bombas
- Configurações de tubagem invulgares ou locais de difícil acesso
- Modificações eléctricas necessárias
- Sistemas com bombas ejectoras ou tratamento de águas residuais
- Sempre que não estiver 100% confiante na instalação
Lembre-se: Uma válvula de retenção corretamente instalada protege um investimento significativo. Em caso de dúvida, contacte um canalizador autorizado.
Manutenção e resolução de problemas
A sua válvula de retenção recém-instalada não é um componente do tipo "instalar e esquecer".
Calendário anual de inspecções:
- Verificar a acumulação de detritos à volta da válvula
- Detetar ruídos invulgares durante os ciclos da bomba
- Verificar o fecho correto da válvula após a paragem da bomba
- Inspecionar todas as ligações para detetar fugas
Problemas e soluções comuns:
Funcionamento ruidoso: Normalmente causado por golpe de aríete. Considere a possibilidade de atualizar para uma válvula de retenção silenciosa ou de ajustar a orientação da válvula.
A válvula não fecha: Muitas vezes devido a detritos que impedem a vedação correta. Limpar o interior da válvula e verificar se os vedantes estão gastos.
Refluxo persistente: Pode indicar uma sede de válvula danificada ou uma instalação incorrecta. Inspecionar e substituir, se necessário.
A linha de fundo
A instalação de uma válvula de retenção é um dos melhores investimentos que pode fazer no seu sistema de bomba de drenagem.
Com menos de $50 em materiais e algumas horas de trabalho, conseguirá:
- Aumentar significativamente o tempo de vida da sua bomba
- Reduzir os custos de energia
- Prevenir a inundação da cave
- Eliminar o incómodo ciclo da bomba
E agora sabe exatamente como instalar uma válvula de retenção numa bomba de drenagem da forma correta.
O segredo é não ter pressa, seguir os procedimentos corretos e não cortar nos pormenores da instalação. A sua cave (e a sua carteira) agradecer-lhe-ão nos próximos anos.
Pronto para começar? Pegue nas suas ferramentas e vamos proteger adequadamente o investimento na bomba de drenagem.