To ensure the efficiency and longevity of your well pump system, a check valve is necessary. A check valve prevents water from flowing back into the well when the pump shuts off by closing immediately when the water pressure drops. Without a check valve, issues like water hammer, back spin, and up thrust can damage your pump system over time.
In this in-depth guide, we’ll cover how a well pump works, the role of check valves, where check valves should be positioned, different types of check valves, and tips for testing and maintaining your check valves. By the end, you’ll have confidence in determining the right check valve setup for your well pump.
How Do Well Pumps Work?
Before diving into check valves, let’s quickly review how the whole well pump system works. A well system relies on a pump (located either in the well or above ground), piping, pressure tank, and control equipment to draw water from an underground aquifer up to the surface and into your home.
Submersible pumps operate down inside the actual well casing. The pump pushes water up through the riser pipe. The riser pipe connects the pump to the piping system above ground that feeds into the pressure tank and home.
For shallow wells, above ground centrifugal or jet pumps sit on top of the well. These pump styles use suction to lift water about 20 to 25 feet from the well’s water level up the riser pipe.
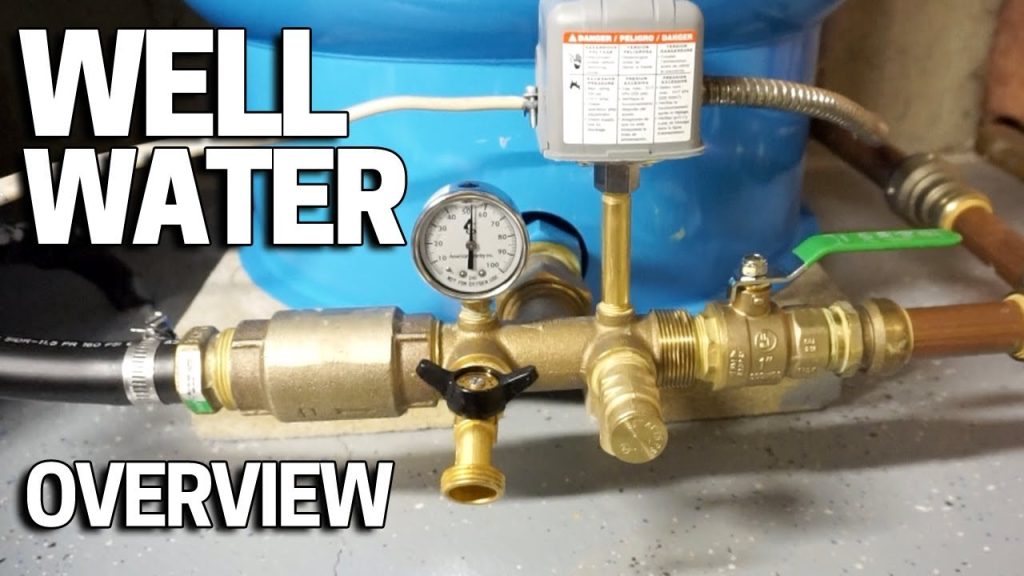
In all cases, the pressure tank maintains constant household water pressure by providing a pressurized reserve. When pressure drops from water usage, the pump turns on to add more water to the tank.
Do I Need a Check Valve on My Well Pump?
Yes, a check valve is vital for well pump installations, serving several key functions to ensure the system’s proper functioning and longevity. It helps maintain pressure within the water system when the pump is off, prevents backflow to keep the pump primed, and shields the pump and motor from damage caused by backspin, upthrust, and water hammer.
All submersible pumps are recommended to have at least one check valve, with spring-loaded types preferred for their quick closure properties. For deep wells, additional check valves should be installed every 200 feet to evenly distribute weight, and even pumps with built-in check valves should have an extra one installed within 25 feet of the pump and below the draw-down level, ensuring safe and efficient operation.
Why Your Well Pump Needs a Check Valve
Every time your pump stops running, the weight of the water column in the piping wants to drop back down the well. This reverse flow can cause a series of problems in your pump system:
Back Spin: Water rushing backwards spins your pump’s impellers and shaft the wrong way. If the pump turns on during back spin, the force can actually break the shaft.
Up Thrust: At startup with lower pressure, the impellers float upward and grind against the diffuser inside the pump, leading to premature wear.
Water Hammer: When the pump restarts, fast-moving water slams against stationary water in the pipes. The resulting hydraulic shock can fracture pipes and damage pumps.
The check valve solves these problems by letting water flow only one direction – from the pump up to your home. On pump shut off, the check valve closes to prevent reverse flow and maintain the system’s prime. Proper closure happens in milliseconds to avert water hammer.
Over months and years, check valves save your pump system from cumulative damage. Running a pump without any check valve leads to much shorter life spans and more costly repairs.
Where Should Check Valves Go in a Well Pump System?
Check valve requirements and positioning depend mainly on your well depth and pump type. Here are some typical setups:
Submersible Pump: Install the first check valve no further than 25 feet above pumping water level. This check valve protects the pump’s built-in valve which is located at the discharge head. Add more valves every 200 feet up the riser pipe in deeper wells. Finally, install a check before the pressure tank at ground level per local code.
Jet Pump: Place a foot valve check with built in strainer directly in the well water. Run short pipe to the above ground jet pump located within 25 feet max of static water level. Install a check valve between pump and pressure tank.
Centrifugal Pump: Also install a foot valve check inside well casing near pump suction pipe entrance. Locate pump above ground up to 25 foot max lift from static water level. Add check valve from pump discharge to pressure tank.
Pro Tip: Avoid putting check valves between well pump and pressure tank whenever possible. This setup causes fast open-close cycling that wears out pump components quicker.
Choosing the Right Check Valve Construction
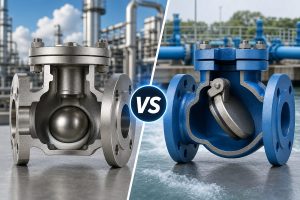
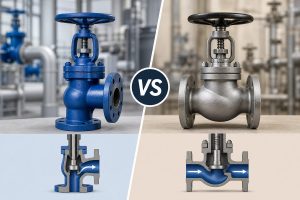
Several check valve types exist, with the main styles being swing, lift, duckbill, stop, and ball check valves. Spring-loaded check valves are by far the best variety for handling well pump systems.
Compared to other options, spring checks close rapidly with pump shutoff. The spring provides constant tension to slam the check mechanism shut once flow stops or reverses. Rapid closure prevents water hammer and other issues.
Common Spring Check Valve Features
- Pipe Sizes: 1⁄2” to 12”. Match size to well pump piping.
- Materials: Cast iron, bronze, stainless steel or plastic bodies. Internals often stainless steel. Plastic best for cost, chemical resistance, non-corrosiveness. Metal options handle high pressures and temperatures better.
- Pressure Ratings: From 150 PSI to 400+ PSI. Select rating greater than pump shutoff pressure.
- Vertical or Horizontal Mounting
- Flanged, Threaded, Grooved, or Soldered Connections
Tips For Maintaining and Testing Well Pump Check Valves
Check valves gradually wear internally and can eventually fail to close properly. Stuck open valves undermine the entire purpose of installing check valves in the first place!
Here are some maintenance tips for getting the longest service from your well pump check valves:
- Annual Testing: Close valve upstream of pressure tank annually. Wait an hour monitoring tank pressure. Pressure loss indicates check valve failure allowing water backflow.
- Rebuild Kits: Clean and rebuild checks showing deteriorating performance before outright failure happens. Rebuild kits available.
- Replacement: Budget complete replacement every 5-10 years depending on water chemistry, number of rebuilds etc. Hard water, corrosion and frequent rebuilds all shorten lifespan.
Be on guard for signs of check valve failure:
- Pressure tank waterlogging
- Pump short cycling on/off excessively
- Reduced water flow
- Pump loses prime sucking air
Testing and scheduled rebuilds/replacement provide cheapest long term operation. Preventing catastrophic failure prevents bigger repair bills down the road!
FAQs – Well Pump Check Valve Questions
Do submersible pumps require check valves?
Yes, every submersible pump needs a check valve within 25 feet of the pump to prevent water hammer, back spin, and up thrust. Additional check valves should be added every 200 feet of drop pipe for deep wells.
Where do you install a well pump check valve?
Typical check valve locations:
- Inside submersible well pump
- 25 feet above submersible pump
- Every 200 ft along drop pipe
- Before pressure tank at ground level
For shallower centrifugal or jet pumps, install foot valve directly inside well. Add second check valve between pump and pressure tank within 25 feet of pump.
What type of check valve is best for a well pump?
Always use spring-loaded check valves on well pumps. Swing checks close too slowly allowing water hammer and reverse flow issues. Use metal or plastic spring checks rated for higher pressure than peak pump pressure.
Why do I need a check valve on my well pump?
Check valves are critical for well pump longevity! They prevent back spin, up thrust, water hammer, and maintain the pump system prime. Check valves stop flow reversals when pump shuts off that would otherwise damage pump components over repetitive cycles.