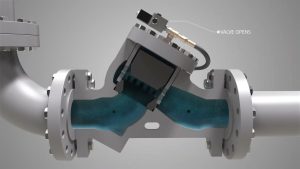
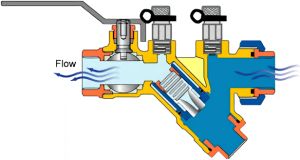
The purge valve hose is a small but critical component in a car’s evaporative emissions system. Over time, it may become cracked or damaged and need replacing. Unfortunately, the factory hoses can be stubborn to remove. In this guide, as a professional valve manufacturer, I’ll walk through the full process of how to remove purge valve hoses, using common tools and without damaging other components.
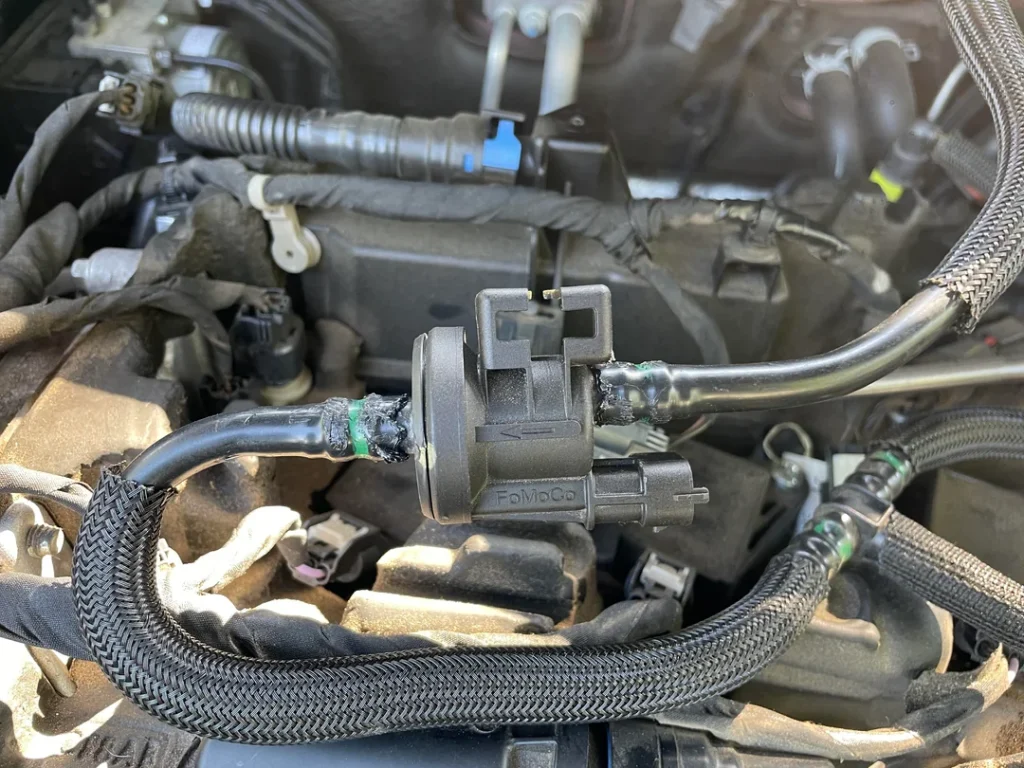
Why Remove the Purge Valve Hose?
Before jumping in, let’s quickly cover why you may need or want to remove the purge valve hose in the first place. There are a few common reasons:
Replacing a Damaged Hose
The most obvious reason is that the existing purge valve hose is cracked or leaking. This is common after years of exposure to heat, oil, and corrosion under the hood. Replacing a damaged vapor hose prevents EVAP system issues and check engine lights down the road.
Upgrading to a More Durable Hose
The factory purge valve hoses tend to be made of cheap rubber or plastic. Upgrading to a thicker, more temperature and chemical resistant vapor hose can improve longevity and prevent future issues. Popular upgrades are rubber fuel lines or braided stainless steel.
Accessing Other Components
Sometimes the only way to reach mounting bolts or electrical connectors on other parts, like the purge valve itself, is by removing its vacuum hoses first. This allows much better access and maneuverability.
Can You Remove Purge Valve Hoses?
The factory uses special quick-connect fittings that firmly lock the hoses onto the purge valve nipples. Many assume the hoses cannot be detached at all without damaging them. While it’s recommended to replace the hoses, here are two ways to safely remove them intact:
Cutting the Quick-Connect Fitting
The quickest way is to simply cut off the end of the hose with the quick-connect. This can be done cleanly with a sharp utility knife. The remaining hose can then be re-used by sliding it onto the new purge valve and securing with a clamp.
Disconnecting the Quick-Connect
With some careful prying and picking, the factory quick-connects can actually be detached fully intact. The process takes patience and is easier with specific disconnect tools. But doing so allows the existing hoses to be re-used and avoids any splicing.
Now let’s look at the full process of removing the hoses…
Step-by-Step Guide to Removing Purge Valve Hoses
Follow these steps and tips to safely detach the vacuum lines from your existing purge valve without breaking anything:
How to Remove Purge Valve Hose
Locate the purge valve under the hood, often on or near the intake manifold. There will be one to three vacuum hoses connecting to the valve nipples.
If you only need access to the purge valve itself, just disconnect the electrical connector going to the top. The hoses can stay connected.
Otherwise, trace where each hose routes from and disconnect them at whichever end is easiest to access. Avoid prying or twisting the nipple stems as they crack easily.
Start with the smallest hose first if disconnecting fully intact. The wider emitter hoses require Locking Tabs depressed to detach.
To cut a hose instead, hold firmly right against the fitting and cut completely through in one Slice. Try not to bend the hose during cutting.
Check all remaining stubs and fittings for any debris left over from cutting. File down any burrs or sharp edges to prevent damage when reconnecting hoses.
With the hoses fully detached from the purge valve assembly, you can now access any hidden bolts or perform required component replacement.
Reconnecting everything is the reversal of removal. Just take care not to over twist or apply excess pressure to nipple stems when pushing hoses back on.
And that covers the complete process of how to fully remove purge valve hoses! Let’s recap a few key tips:
Quick Tips for Purge Valve Hose Removal
- Avoid torquing plastic connectors to prevent cracking
- Disconnect at easiest accessible end
- Cut hoses cleanly and perpendicular if removing intact fittings
- Secure new hoses with clamps if splicing cut ends
- Lubricate nipple stems when reconnecting
- Verify hoses do not contact hot or moving parts after replacement
Finding Proper Replacement Purge Valve Hoses
Once removed, the existing purge valve hoses may be too damaged to reuse. So here is some guidance on selecting proper replacement hoses:
Match the Dimension Specifications
Whether you source replacements from the dealer or aftermarket, ensure the vacuum hose ID (inside diameter) and wall thickness match what came off the car. Using incorrect sizes can impede vapor flow.
You’ll also want to match the end that connects to the purge valve. This is often 5/16 or 3/8 inch for most applications. Bring your original part to double check.
Choose Durable Hose Material
The factory vapor lines work but are only built to last so long. Upgrading to fuel injection hose or stainless braided lines are popular replacements that hold up better than OE rubber. Just match the sizing and fittings.
Buy Clamps for Splicing Hose
Anytime you cut or splice a replacement hose, secure the connection with quality clamps. Constant exhaust heat and vibration can cause unsecured hoses to separate over time. Spring clamps work, but worm gear clamps offer superior holding power.
Confirm Heat and Chemical Resistance
Since EVAP system hoses see engine temperatures and some fuel vapors, confirm any replacements are designed to withstand those conditions. Automotive fuel line meets these criteria. Check manufacturer specifications for temperature thresholds and chemical compatibility.
With those tips, you can source durable and long-lasting purge valve hose replacements to complete the repair.
Conclusion
Removing stuck-on purge valve hoses takes some finesse and the right process, especially keeping older plastic connectors intact. Cutting the quick connect end allows the hoses to slide off easily, but does require splicing to reuse or replace.
Alternatively, pressing the locking tabs in sequence and firmly wiggling does permit cleanly disconnecting the factory fittings when needed. Patience and the proper disconnect tools help tremendously with this.
Once removed, take advantage by fitting thicker and higher performance replacements to avoid premature evap system issues. And don’t forget new clamps if splicing cut hoses!
Following this guide will have you adept at fully removing and replacing those pesky purge valve vacuum lines. Just take your time and exercise care when dealing with older plastic components. Properly reconnected and routed, your upgraded hoses will then outlive the car.

