A ball valve controls the flow of liquids and gases in plumbing, HVAC, and industrial applications. As one of the most common types of quarter-turn valves, learning how to replace a faulty or leaking ball valve properly is an essential skill for any homeowner or technician.
In this complete guide, you’ll learn everything you need to know about replacing a ball valve in 2024, including when to replace vs repair, valve orientation best practices, step-by-step installation instructions, and proper maintenance.
When Should You Replace vs Repair a Ball Valve?
Over time, components like the ball, stem, and seats experience wear and tear. This naturally changes the valve’s performance and sealing capabilities, eventually requiring repair or replacement.
You may need to replace the entire ball valve if:
- There is significant damage or wear to multiple internal components
- Critical parts like the ball or body get damaged beyond repair
- There are cracks or leaks in the valve body
On the other hand, you can repair the valve by replacing individual parts if:
- The leaks or issues relate to a single component like damaged seats or stem packing
- The valve sticks partially open, indicating worn seats needing replacement
- The valve still meets or exceeds temperature and pressure requirements
Replacing individual parts instead of the whole valve is usually more economical. However, attempting to disassemble and repair valves still in service under line pressure can damage the ball valve further. The decision between replacement vs repair factors in cost, application requirements, extent of damage and downtime impact.
Consulting the valve identification tag and reaching out to the manufacturer for troubleshooting and parts support can provide helpful inputs determining the best fix.
5 Key Rules For Ball Valve Orientation
To avoid premature wear and ensure smooth operation, following proper orientation guidelines when installing ball valves is critical.
1. Set the Ball at Center Position When Closed
Closed center ball alignment allows bidirectional sealing and protects seats from deformation under pressure.
2. Position Stem Vertically When Possible
Keeps stem packing lubricated and reduces friction and wear. Exceptions are acceptable at small deviations. Mounting upside down causes debris around the stem.
3. Flow Direction Matching Handle
Aligning the flow inlet with the handle direction provides intuitive valve operation. Handle indicates open direction.
4. Ensure Adequate Clearance For Operation
Account for the 90 or quarter turn arc sweep of the handle to fully open/close without obstructions.
5. Support Piping to Prevent Valve Stress
Suspending pipes creates additional static and dynamic loading which strain valves and connective thread.
Following these orientation best practices improve reliability, easy operation and tight sealing performance from all ball valves. Getting them right during initial positioning prevents premature wear and leakage over time.
How to Replace a Ball Valve: Step-By-Step Guide
Replacing an old or damaged ball valve keeping the working fluid contained requires methodically isolating, depressurizing and reconnecting the affected section safely.
Here are the main steps involved:
Step 1: Turn Off Water Supply, Depressurize and Drain Lines
Shutting the main water supply or specific branch isolator allows safely de-pressurizing the connected lines. Attach a temporary drain hose at lowered points to empty the pipes completely.
Step 2: Disconnect and Remove Existing Ball Valve
Unscrew flange bolts or break connecting welds/threads carefully and detach supply pipes from inlet and outlet valve ports. Wrench grip the valve body stationary while turning the pipe fittings. Remove the detached leaky valve completely exposing supply pipe ends.
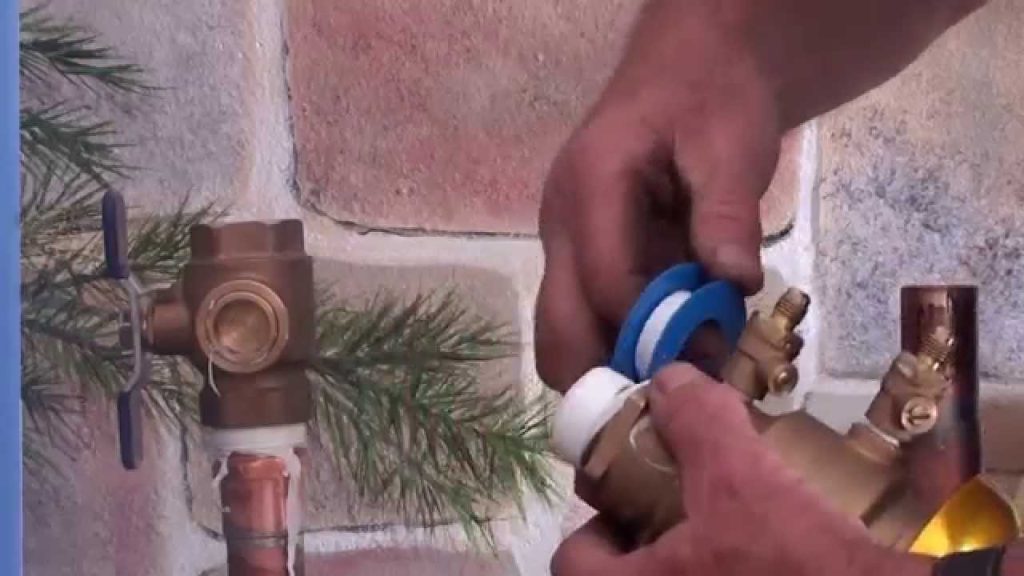
Step 3: Prepare New Ball Valve for Installation
Inspect valve ports, body seals and handle motion. Confirm dimensions like pipe diameter match replacement requirements. Lubricate seals if needed. Wrap appropriate seal tape on threaded ports based on pipe type.
Step 4: Position and Attach New Ball Valve
Place replacement valve such that handle has adequate clearance. Align ports with pipe ends adjusting orientation/rotation to permit downstream equipment connectivity. Hand tighten first followed by calibrated tightening of flanges, weld beads, threads or compression fittings using wrenches.
Step 5: Restore Water Supply and Test Operation
Slowly open main water supply to repressurize lines gradually, avoiding sudden water hammer shock. Keep drain point open to bleed trapped air and fill valve completely. Test operation closing and opening new ball valve several times up to maximum pressure rating. Observe leaks and rectify if found.
Following these key replacement steps systematically helps ensure smooth changeovers minimizing fluid spills, pressure surges or equipment damage.
Regular Maintenance Tips Post Installation
Once the replacement ball valve installation and testing concludes, incorporating the following periodic preventative maintenance best practices into your schedule ensures their long and efficient functioning:
- Annual inspection – Check valve body, seals, connectors and stem for corrosion wear and damage.
- Quarterly operation – Cycle the valve open-closed multiple times to prevent sticking.
- Post-use cleaning – Remove process fluid residue, dirt and debris frequently.
- Bolt retorquing – Re-tighten flange connector bolts to specified levels yearly due to relaxation.
- Seal replacement – Change worn stem and body seals causing leaks proactively.
- Lubrication application – Tribological lubricants minimize friction, protect surface and prevent wear.
Isolating malfunctioning ball valves immediately followed by replacement using the right make and dimensions while adhering to orientation standards ensures continuous and safe operation. Practicing regular maintenance further enhances longevity. If replacement complexity exceeds in-house capability, professional valve specialists have the expertise offering reliable and efficient turnkey solutions.
In Conclusion
Following the guidelines above equips you to competently replace a faulty ball valve. As leaders in valve engineering for over 20 years, Zeco Valve provides specialized ball valve solutions customizable to your exact specifications and performance requirements with global availability. Contact our application experts for any ball valve queries or custom orders.